
Well I guess I have to put this upfront so that you don’t get confused with the title. This ain’t no self help tutorial to deal with depression or anything to do with your emotions!
This is a tutorial on lighting… Not in-game lighting (nothing procedural here), neither photography lighting nor does this have anything to do with filmography, nothing to do with interior design and definitely not how to make a torchlight!
What this is is a tutorial on how to use LEDs to light up the interior of your computer chassis/tower/rig and the surroundings of it! Yes, it does lighten the mood and make you feel better 🙂
I will present to you a method (which will include some code/software) to control multi-colour LEDs which are addressable using your computer and some other devices to reflect the ongoing programs running on your computer, that is, the LEDs will react to music, movies, games, microphone input, whatever input passes through your computer as long as you know how to handle it…
I made the ambilight/interior chassis lighting system and the results are amazing! It will cost you 50$ max! It uses around 5% of the CPU while running (I use the i7 4770k) and around 300MB RAM (Because of java) But you can try to port it to C++ (It used around 20MB and 3% CPU)
What you will need:
A computer,An Arduino kit (I use the Arduino UNO) (~20 USD)Some LEDs which are multi-colour and addressable. (I use RGB 5050 SMD LEDs with ws2811 ICs to make them addressable) (~20 USD depends on how many you buy)Some wires to connect them. (Be smart and try to use different coloured cables to identify ground, voltage, data,etc)A USB cable to connect the Arduino UNO to computer. (Comes with the arduino)5V DC converter(Check the wattage based on how many LEDs you plan to use – Each LED uses around .25 Watts)
Besides these hardware requirements, you will have to know how to code and write programs. Also if any soldering is required you may need a soldering iron and know how to use it.
This video will teach you how to solder stuff… Next I use processing so you will have to know it and also know how to program Arduinos… (Its easy don’t fret).
First things first set up your arduino IDE and install all required drivers…(http://arduino.cc/en/Main/arduinoBoardUno)
Great now that that’s done you can mess around with the tutorials there and get used to working with the arduino.
Now what we’re making is kind of an ambilight which is inside your chassis or you can keep it outside too and work it like an ordinary ambilight…
You can also buy two strips of ws 2811/ ws 2812 and keep one in your chassis and the other outside…(What I’ve done)
To power the strips you will require a 5V DC step down transformer device… Just search for 5V DC converter you’ll get easily… (you can power around 50 leds via USB using the 5V pin from the arduino without a separate 5V DC converter)
Please follow the tutorial on this link the get the ambilight created… Mine is just an improvement
https://learn.adafruit.com/adalight-diy-ambient-tv-lighting/overview
Once you’ve done that you probably understand what power of customization is at your hands!!!
Now, here is my code:Arduino:http://pastebin.com/G6xeQjc5Processing:For my processing code to work you will have to install Minim and ControlP5http://pastebin.com/6d5yS5cT
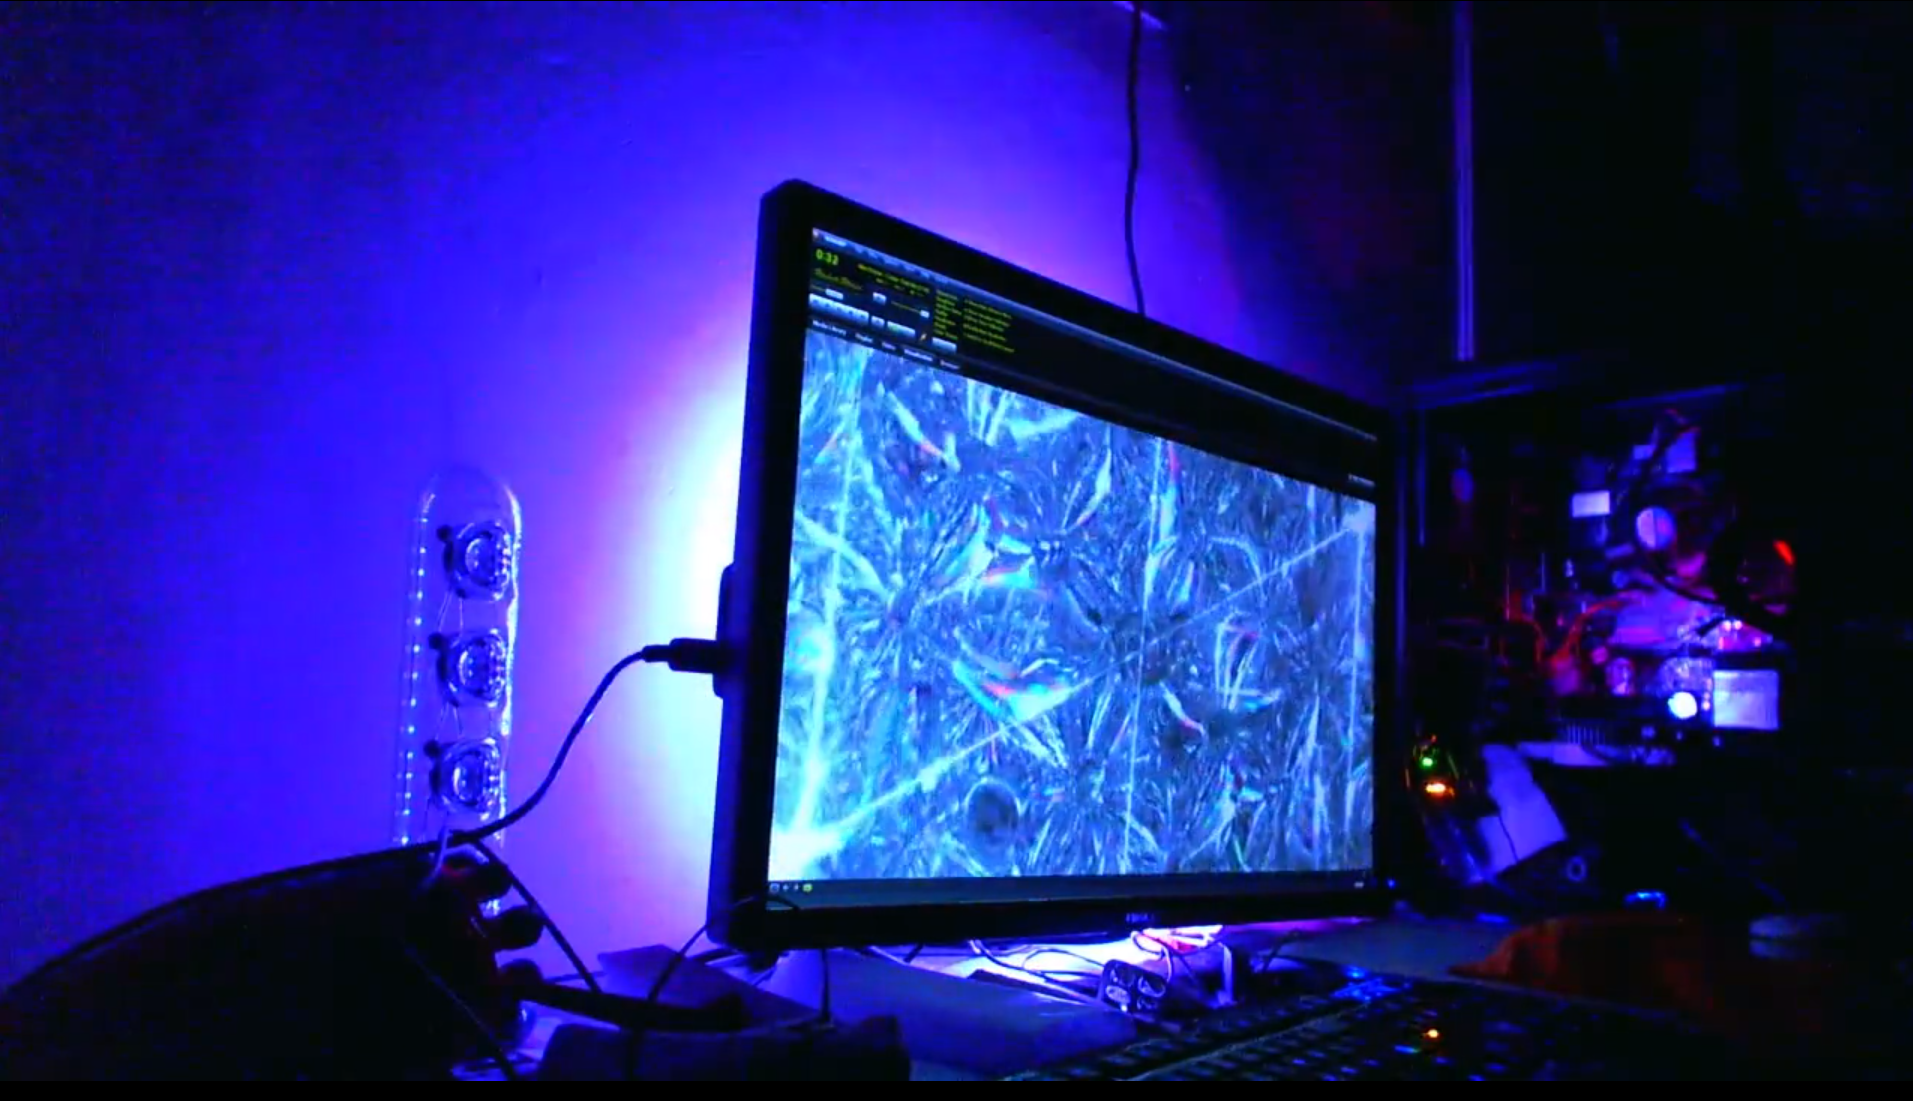
I’m sorry this is a very bad tutorial, but later on you’d realise it’s all you needed!Here is how it should look when your done: vid (its a link)
🙂